
Select Areas of Interest (AOI)
What are AOIs?Areas of Interest (AOI) let you determine where to run analysis of geospatial data. Each AOI corresponds to a polygon in geographic coordinates (latitude / longitude) defining an area on the Earth.
AOIs are created within projects. Each project may have multiple AOIs.
Some other terms for AOIs include: polygons, boundaries, geofences.
You can add Areas of Interest/s (AOIs) in two ways:
You can also manage your AOIs in various ways:
1. Draw a polygon boundary of the AOI
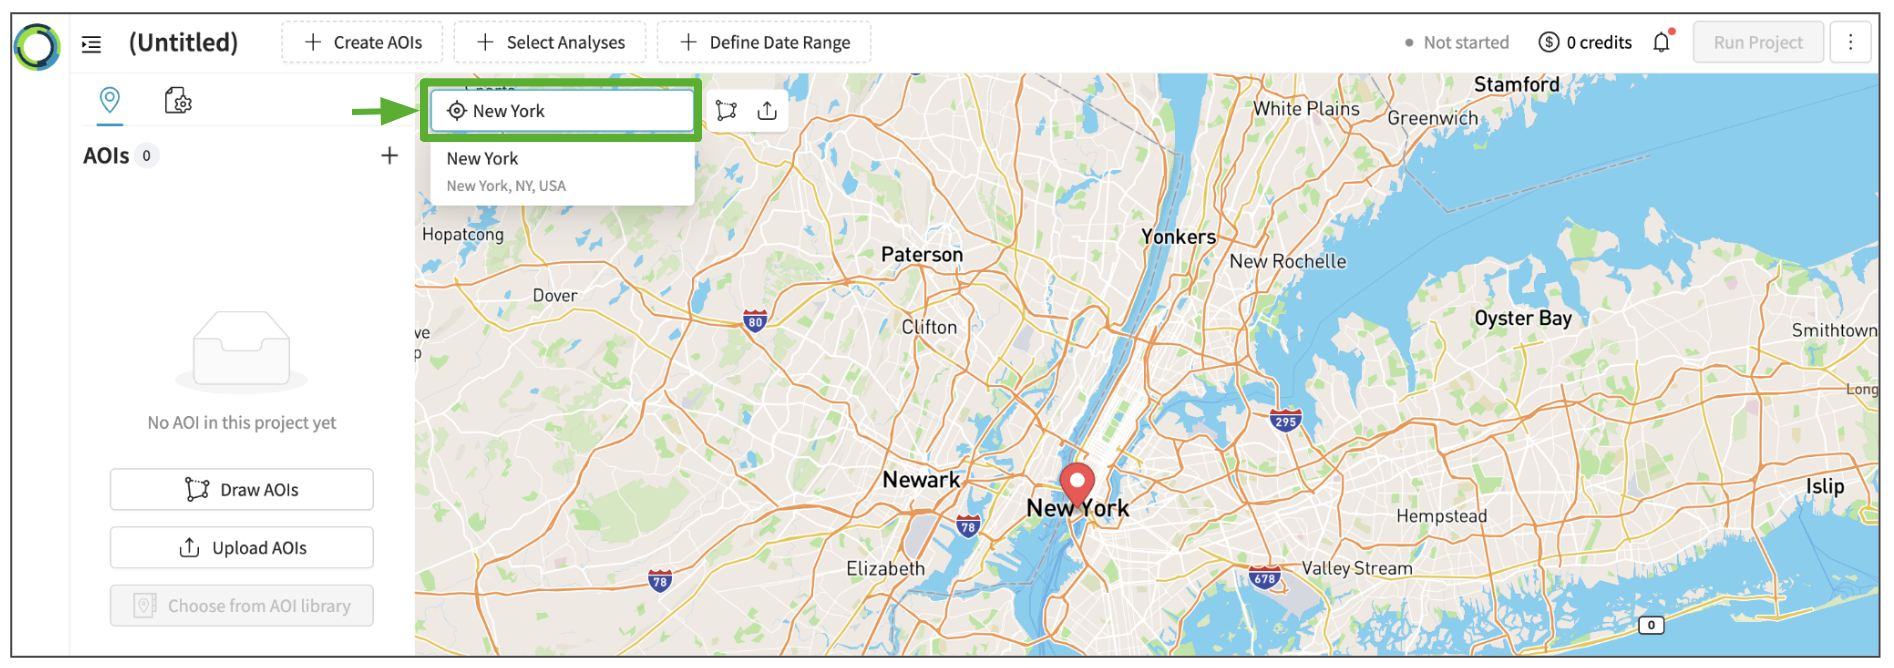
1-1. Navigating around the Map
Firstly, you probably want to navigate to your area of interest on the map. You can search for the area or location using keywords, address or coordinates (latitude and longitude) through the navigation search box on the top-left of the map.
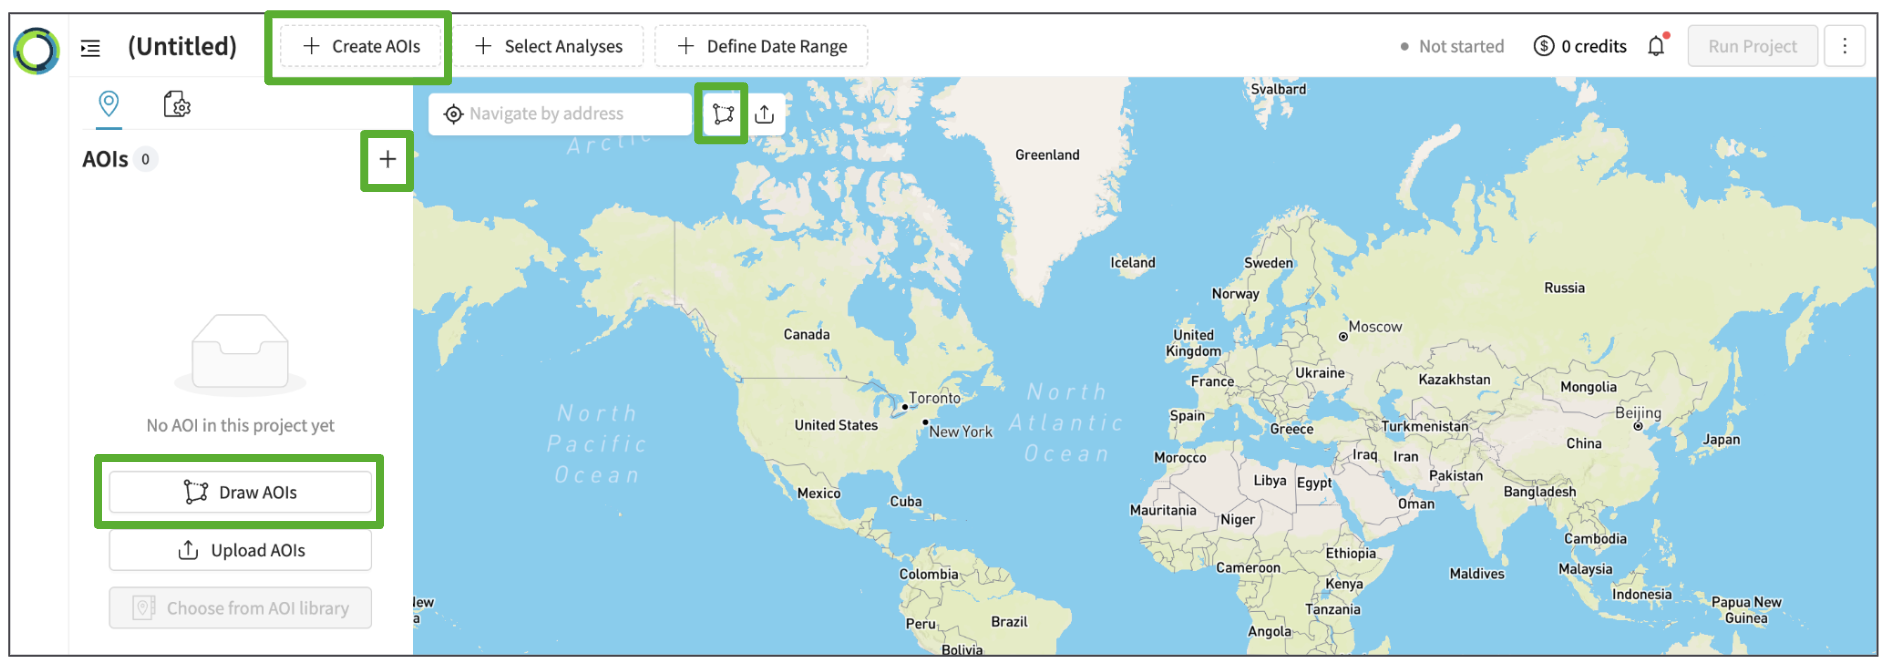
1-2. Drawing a New AOI
Please select one of the following 'draw AOI' options :
- Top Panel '+ Create AOIs' - Draw AOIs
- Left Panel AOIs - Add using '+' - Draw AOIs
- Left Panel AOIs - Draw AOIs
- Draw AOI icon next to the search bar
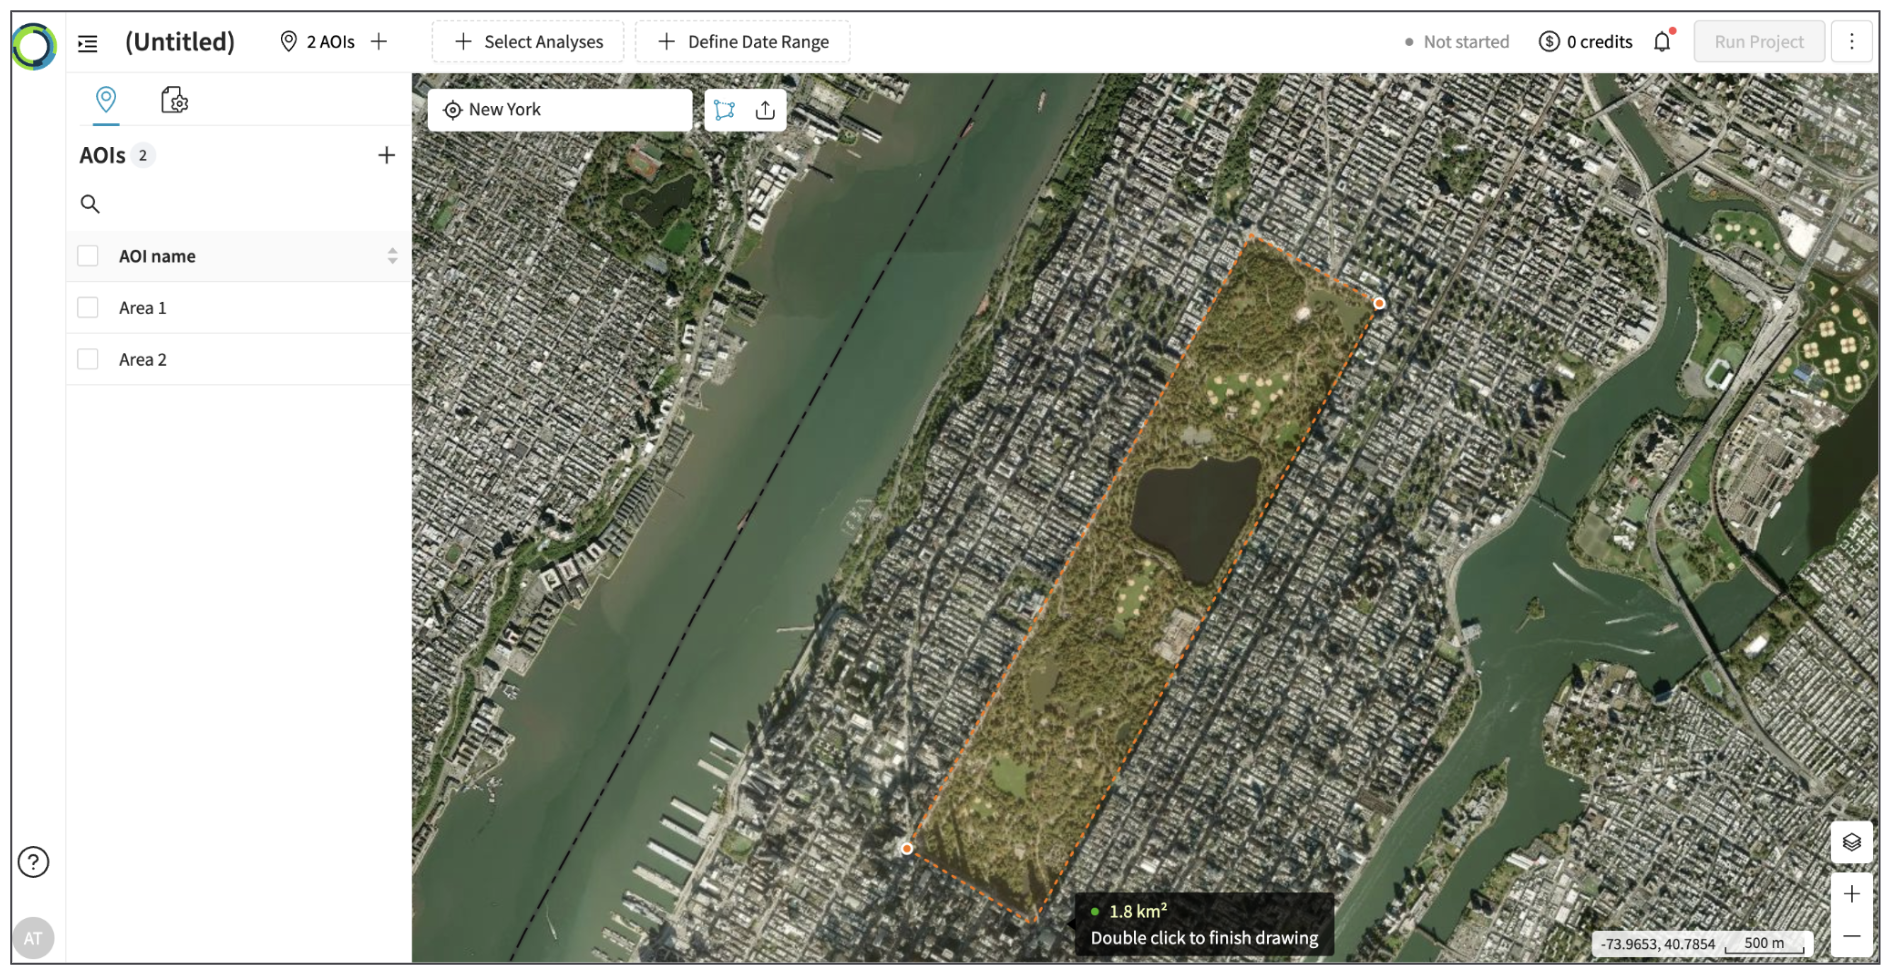
From here, click on the map to start drawing your AOI, then double-click (or click on the first point you added) to finish the AOI. Please use 'esc' if you wish to exit before finishing the AOI.
You will be able to view the list of the AOIs in the left panel.
Current Limits
- Please limit the size of an AOI to less than 10,000 sq km. (We are consistently working to expand the size limit in future releases)
- You can't draw an AOI with intersecting boundaries. (You can draw an AOI within another AOI)
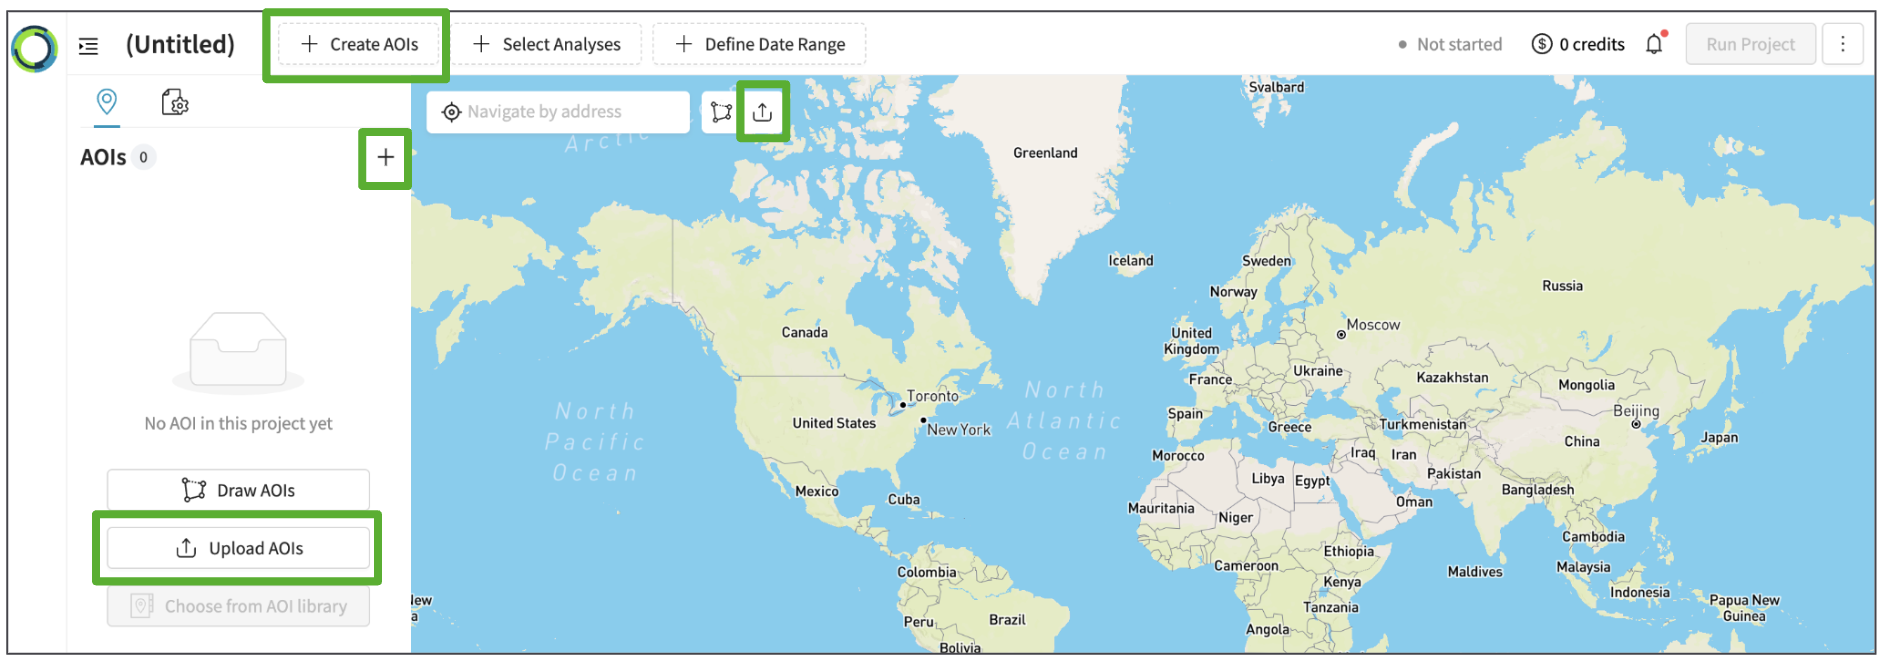
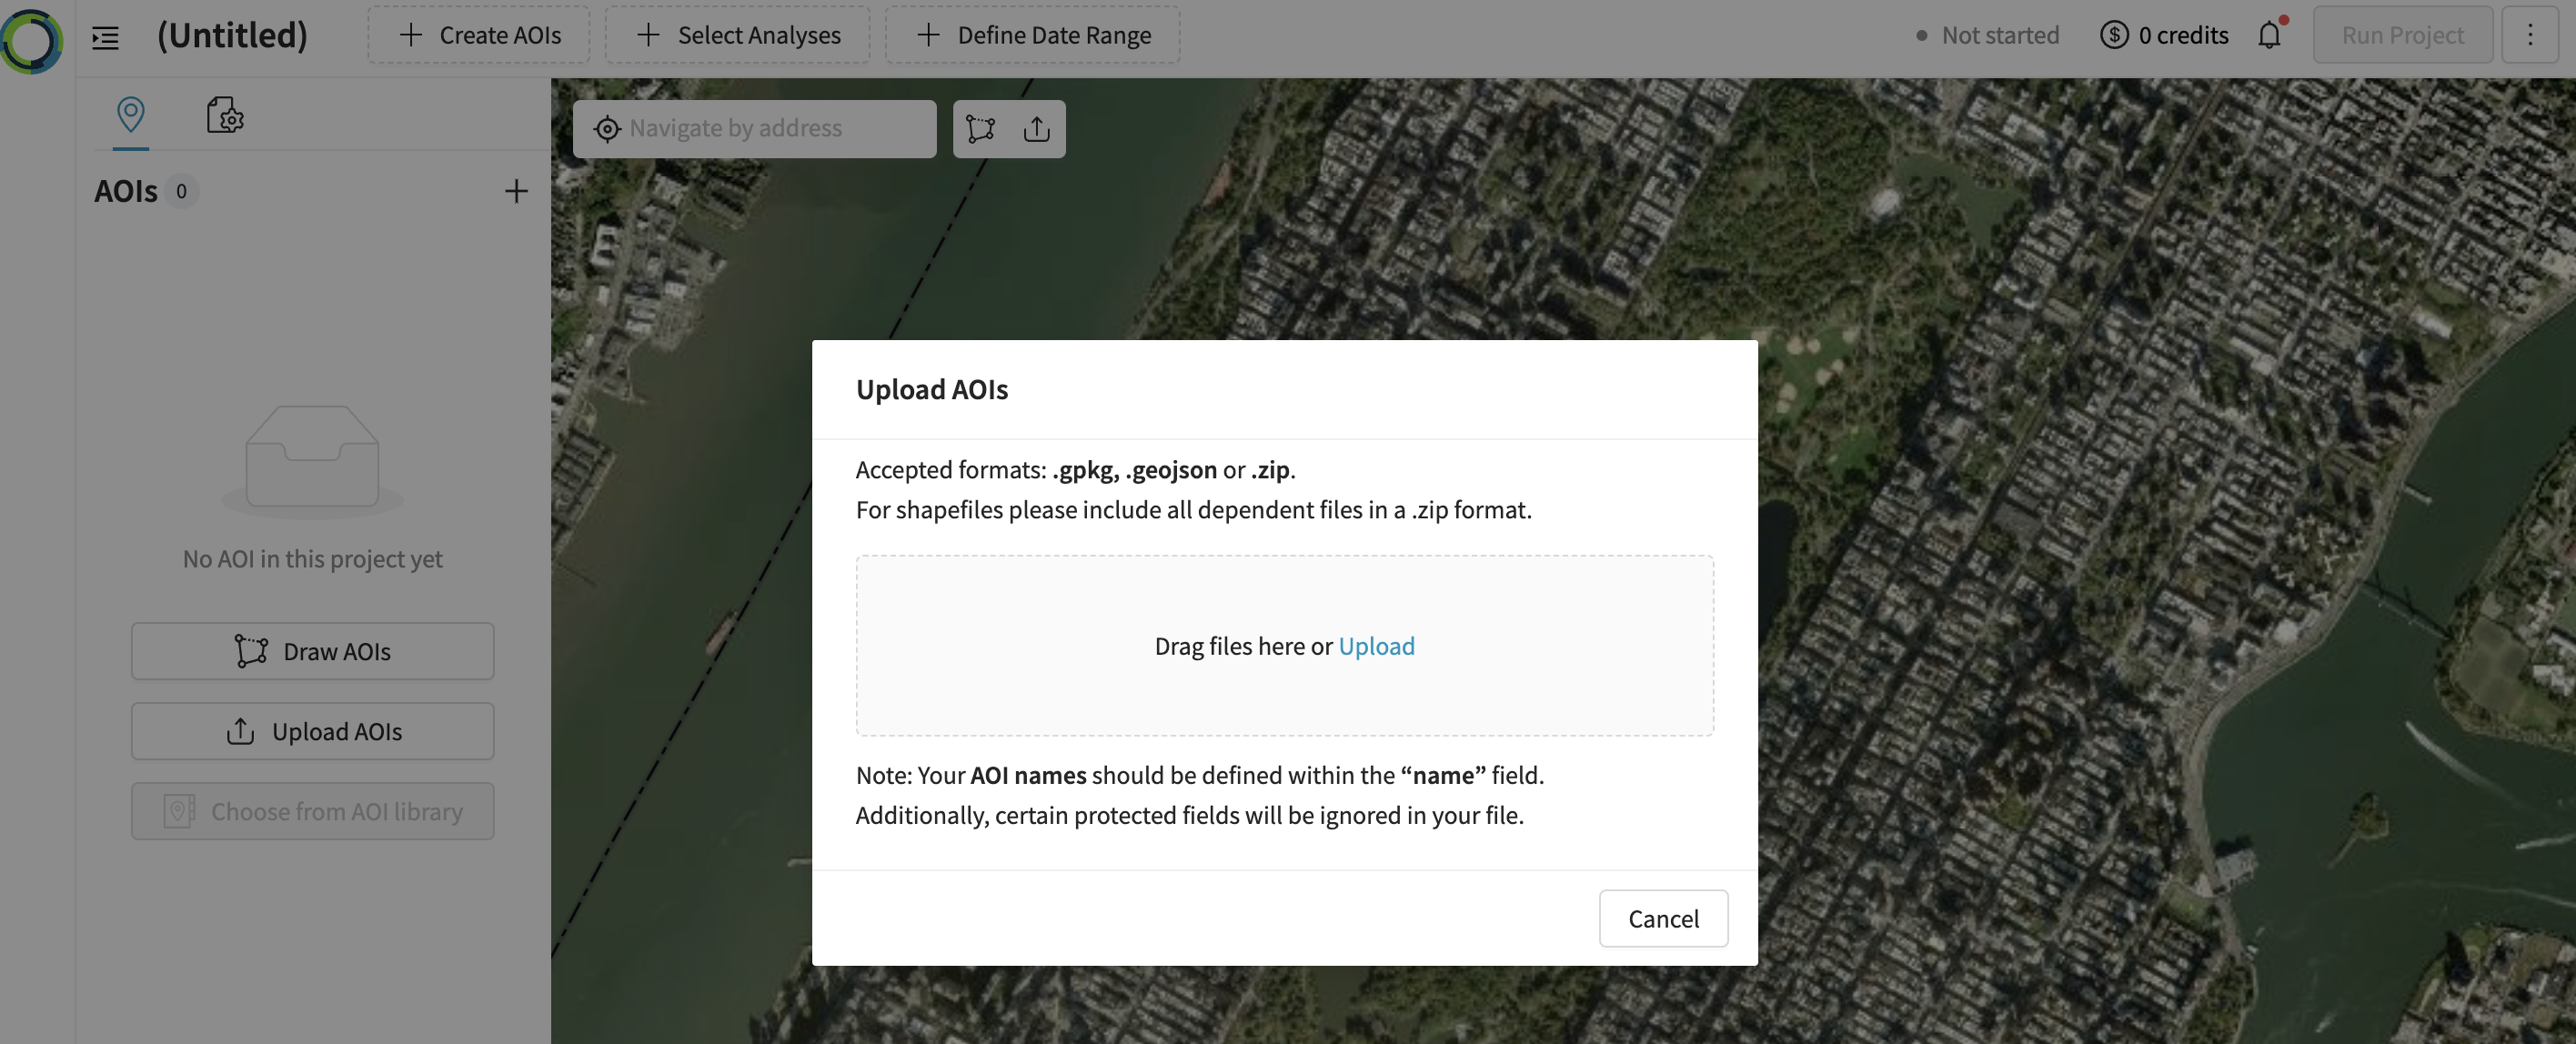
2. Upload the AOI
Please select one of the following 'Upload AOI' options :
- Top Panel '+ Create AOIs' - upload AOIs
- Left Panel AOIs - Add using '+' - upload AOIs
- Left Panel AOIs - upload AOIs
- Upload AOI icon next to the search bar
Accepted formats are .gpkg, .geojson or .zip For shapefiles, please include all dependent files in a .zip format.
Select a file or drag-and-drop it from your computer into the upload modal.
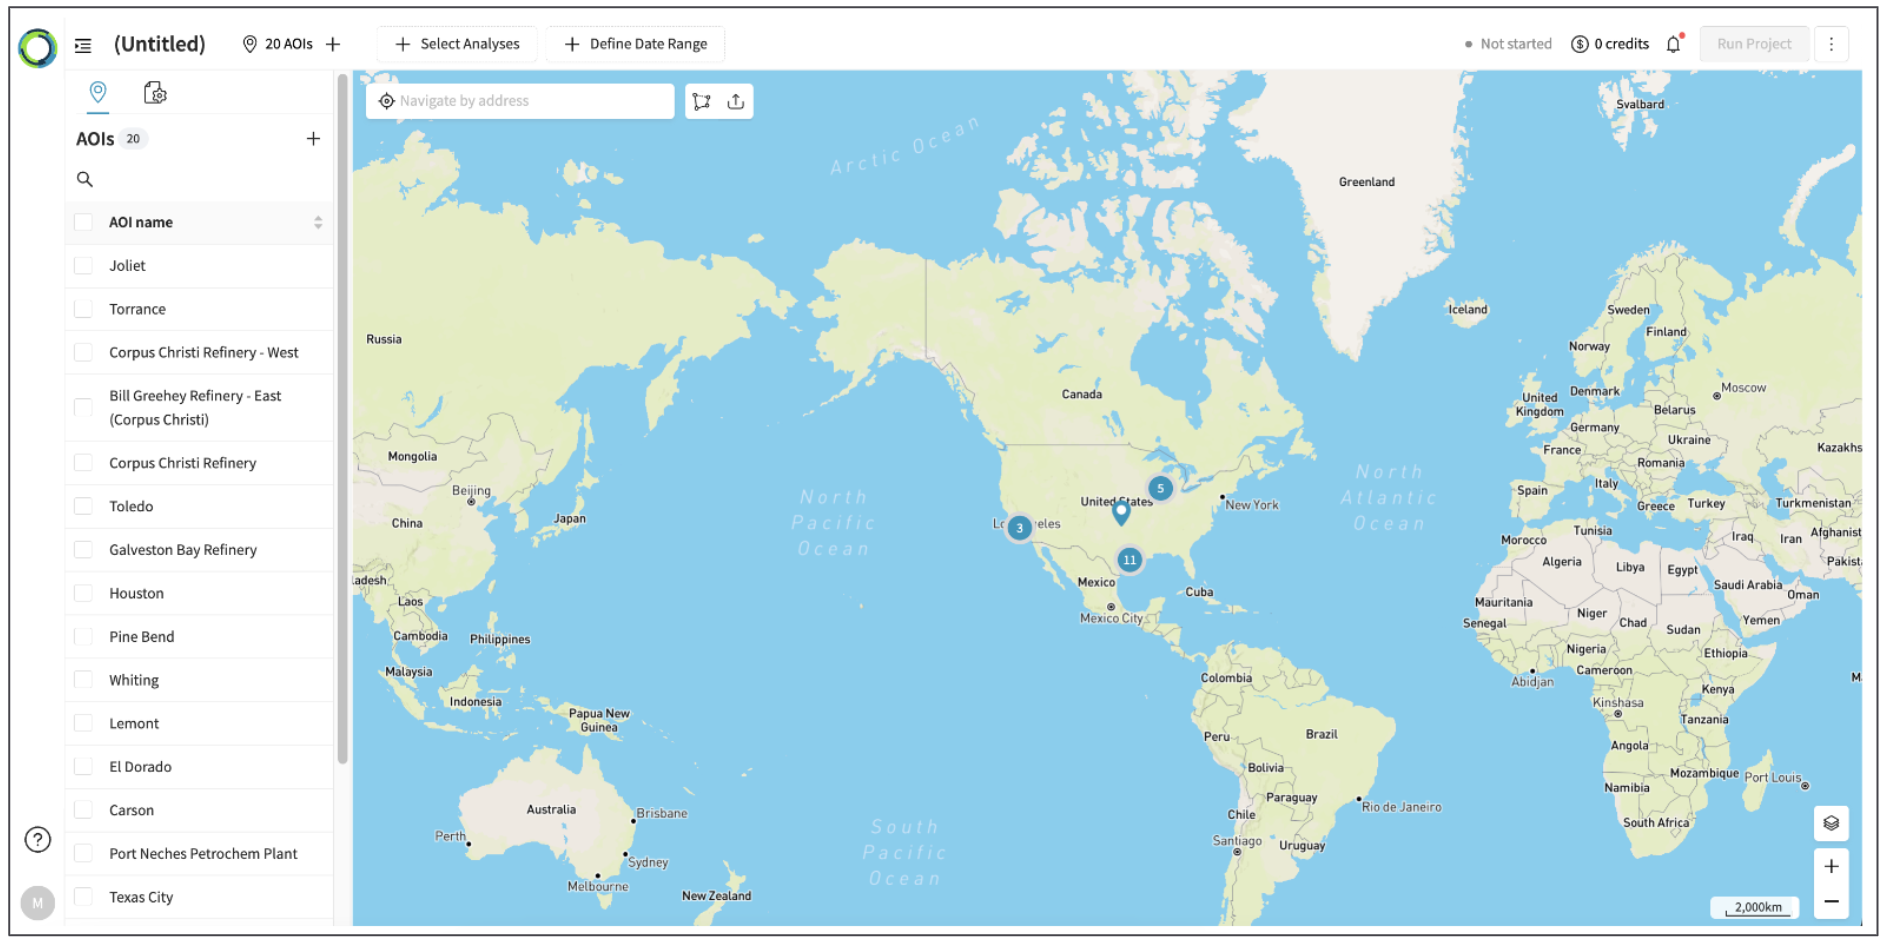
Once you upload the AOIs, they will all show up in the list of AOIs in the left panel.
3. Manage your AOIs
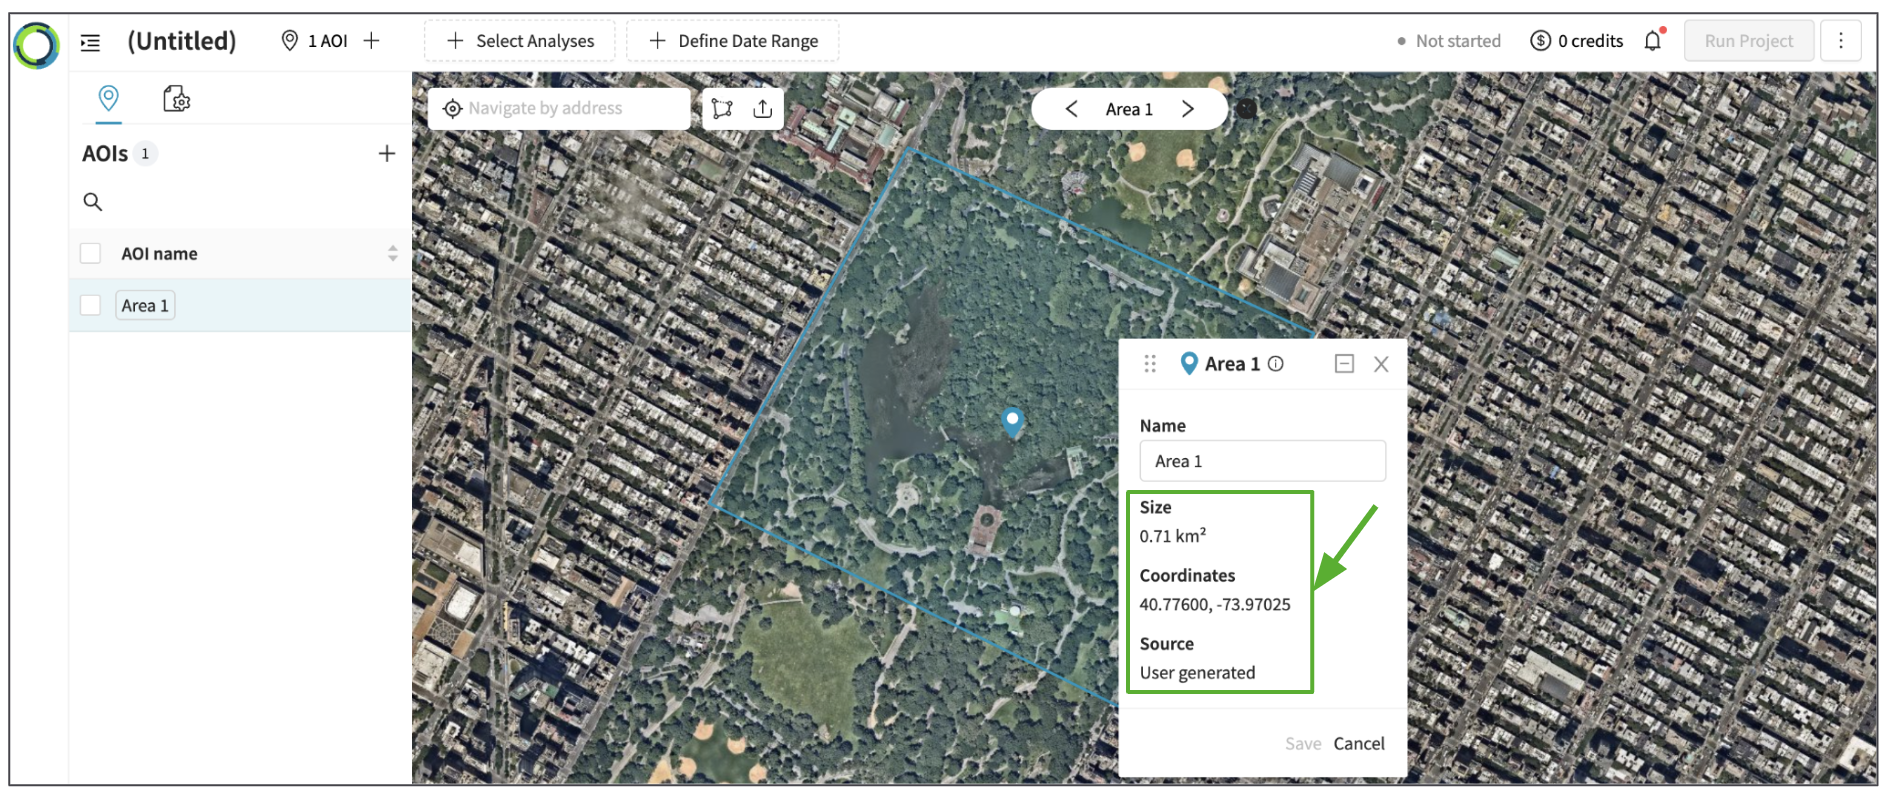
3-1. View AOI Details
Click inside the AOI boundary to understand the AOI size, coordinates, and source of the AOI.
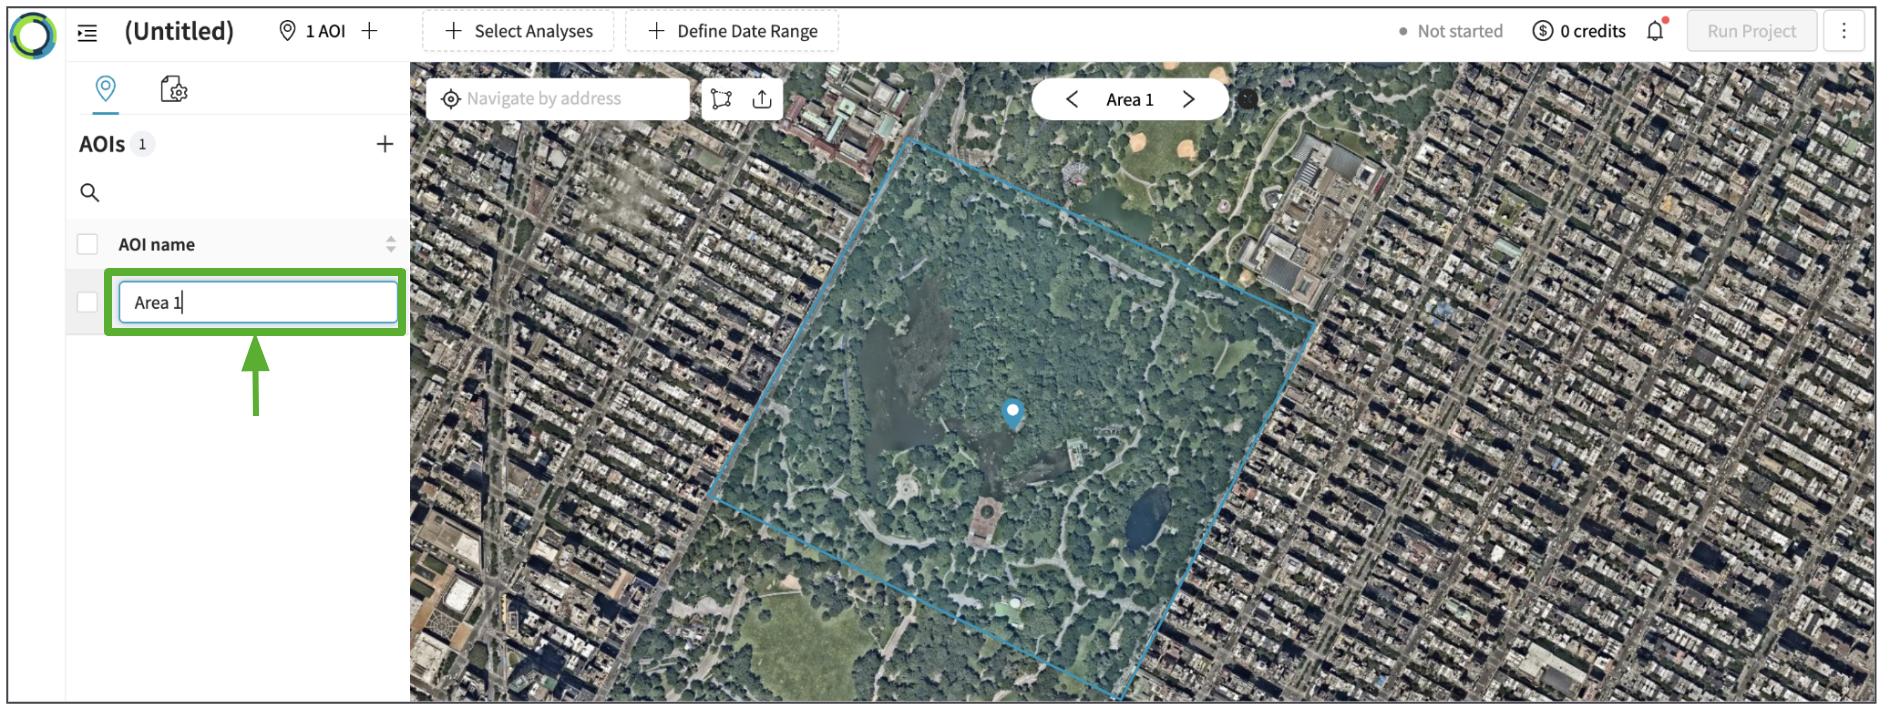
3-2. Edit AOI name
You can click the name of the AOI on the left panel to edit the AOI name.
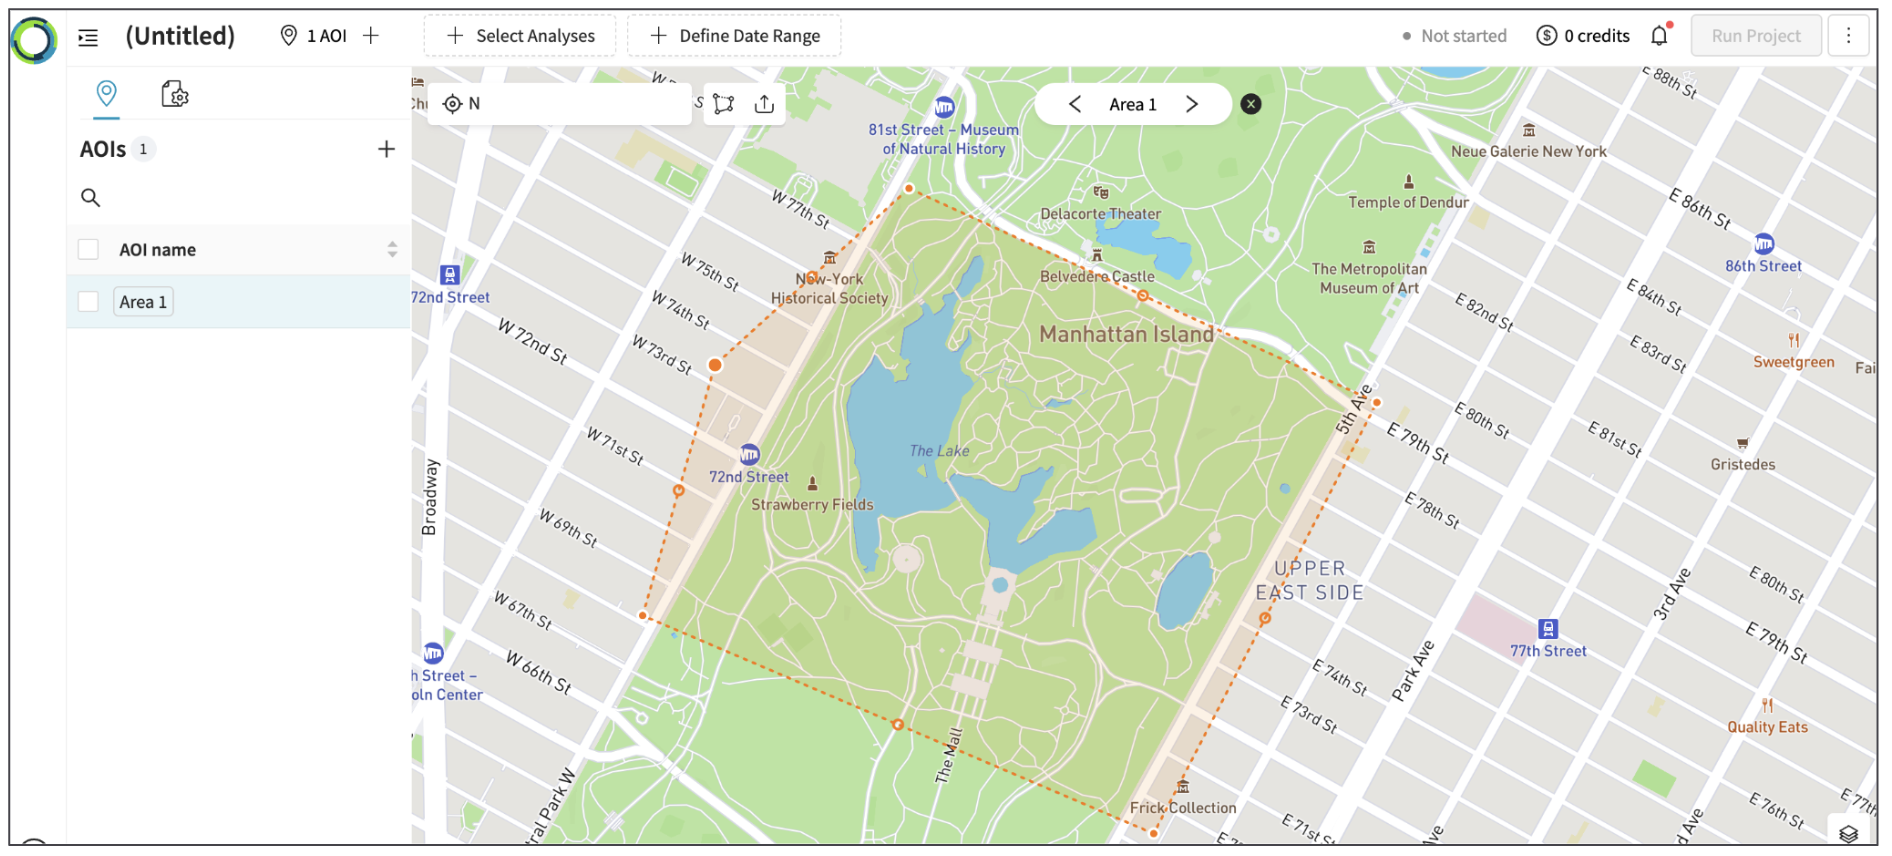
3-3. Edit AOI boundary
You can edit an AOI by double clicking it on the map. This will show the AOI in a bright orange border.
 Finally, click on the map outside the AOI to save & finish editing the AOI.
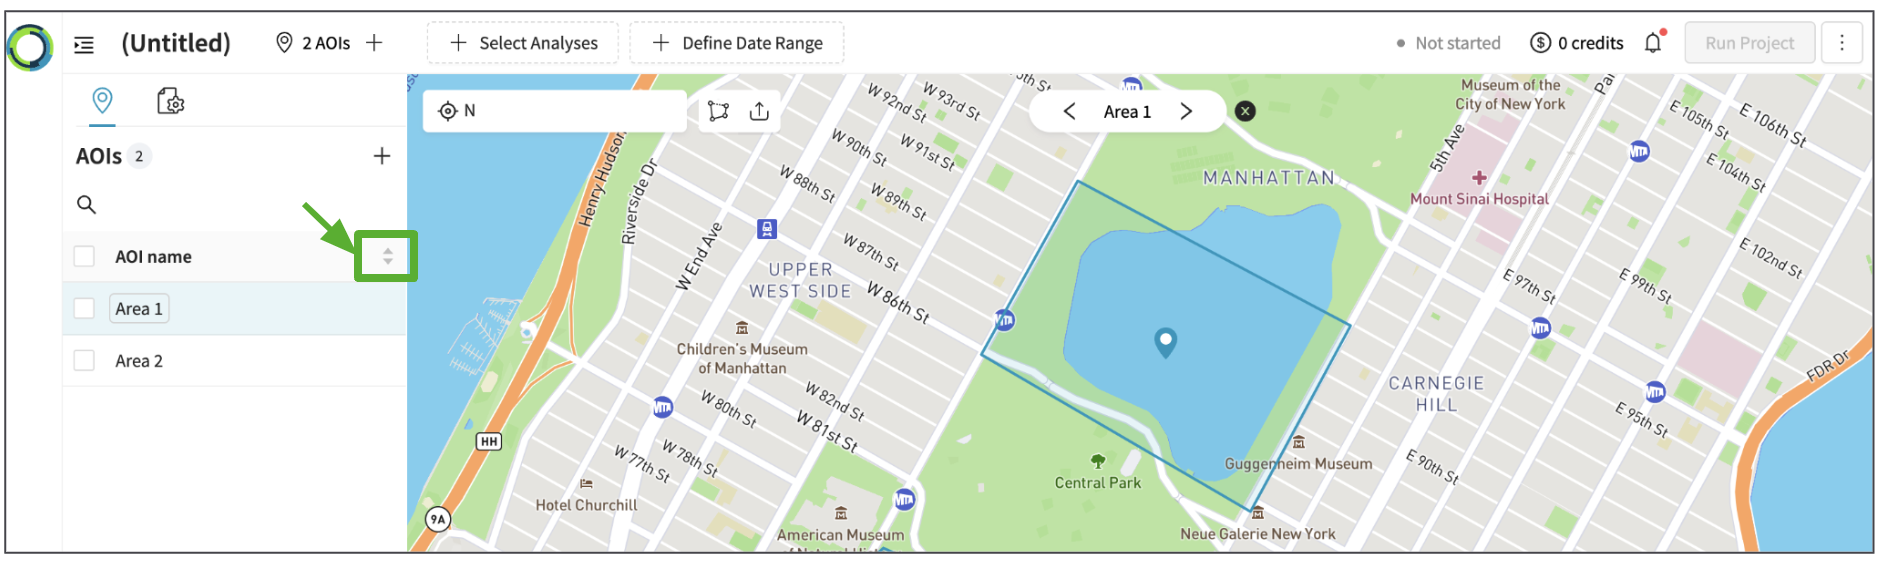
3-4. Sort the AOI list
You can sort the AOIs in an alphabetical order from ascending or descending manner by clicking the arrow icon.
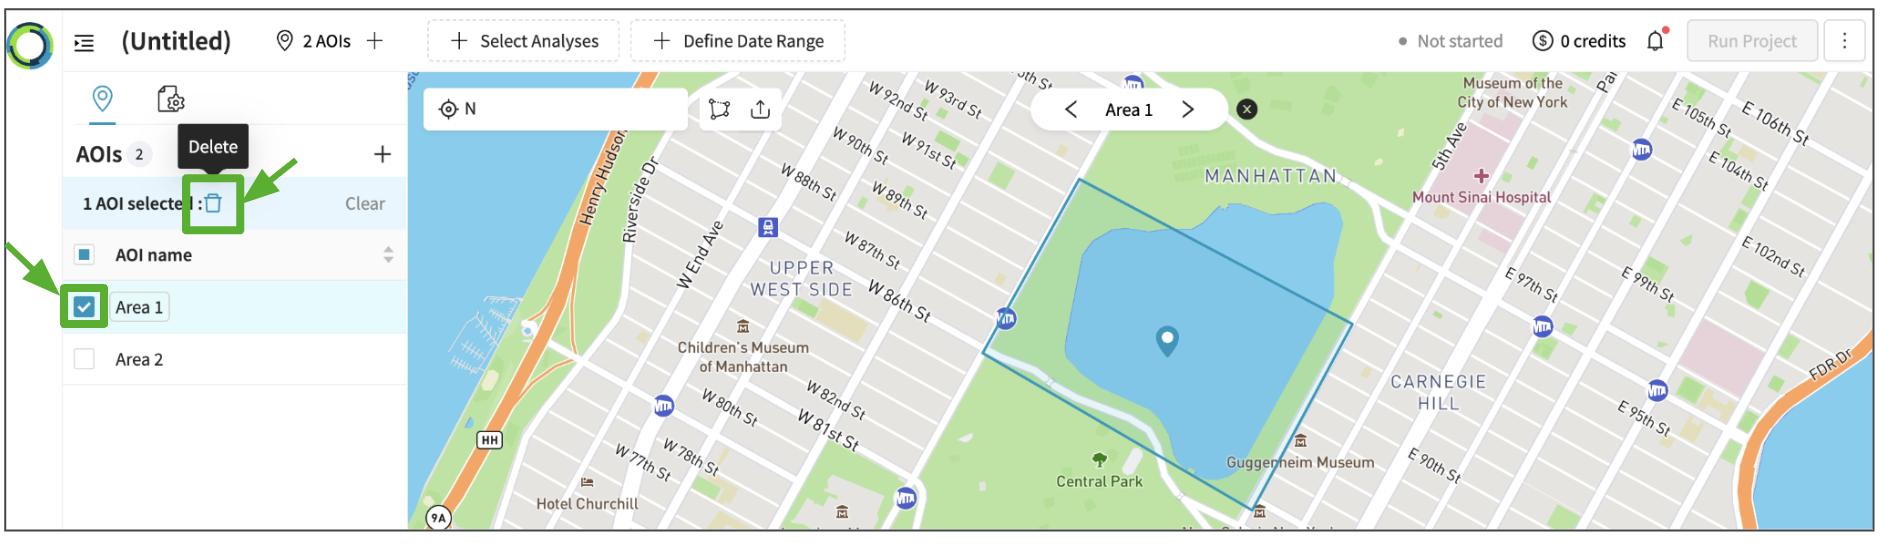
3-5. Delete AOI
You can select the checkbox of the AOI and click the 'delete' icon to delete it from your project before you decide to run the analysis.
Updated 6 months ago